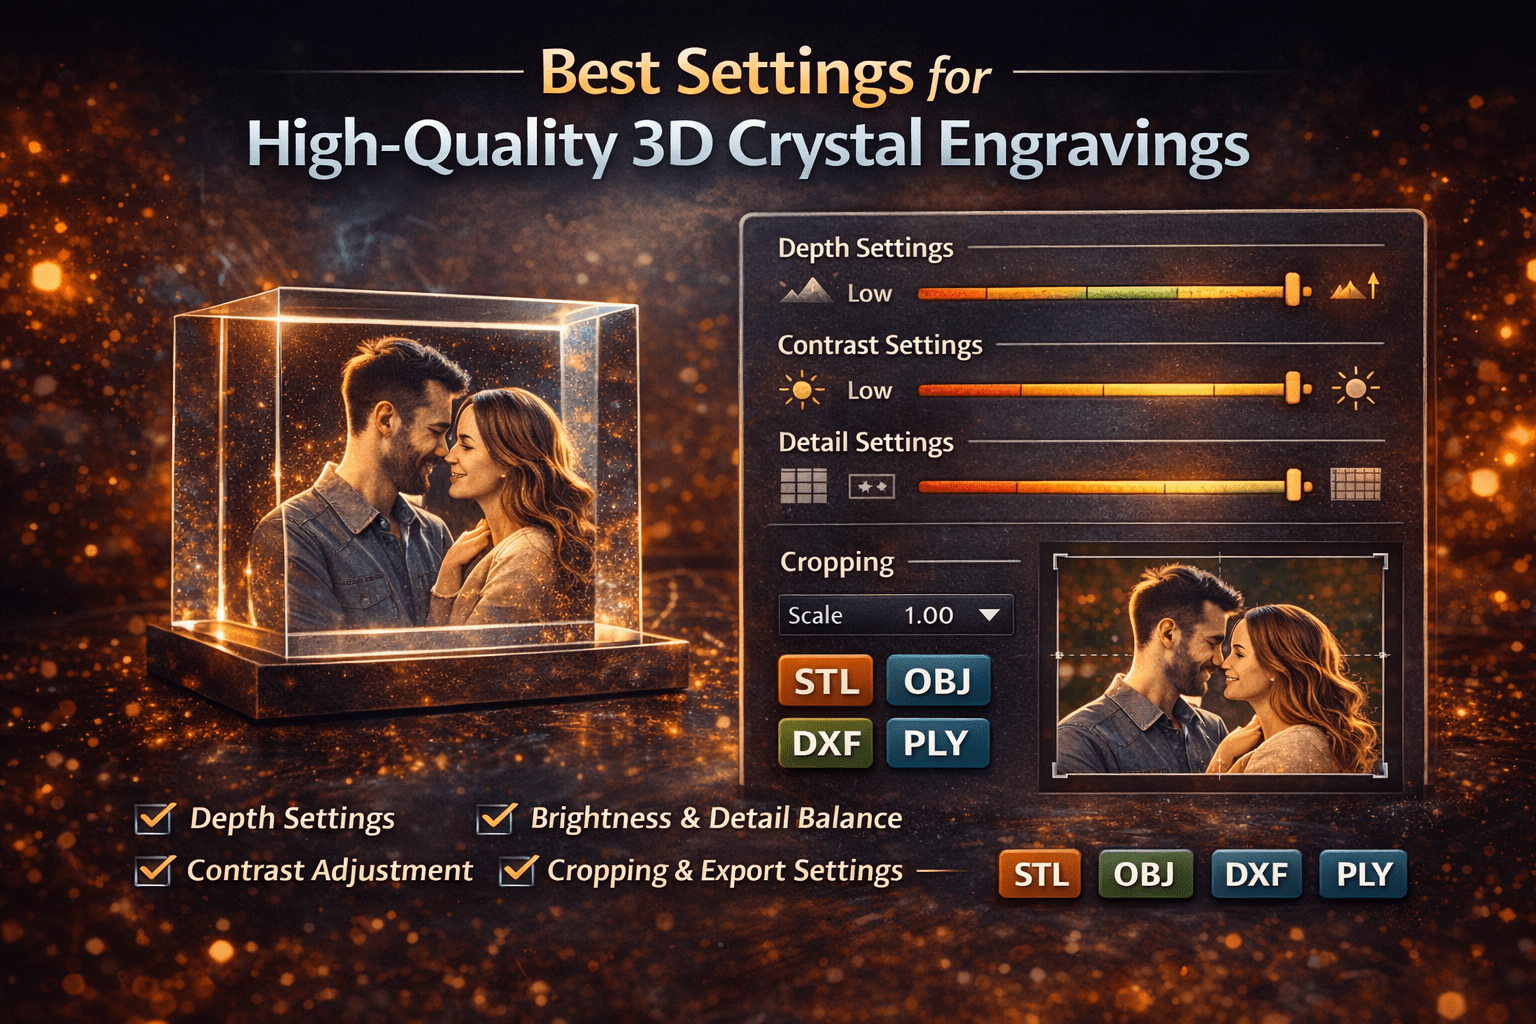
Creating a high-quality 3D crystal engraving is not just about using a good photo. The crystal engraving settings you apply during processing play a critical role in determining the final result. Choosing the right image is critical—see our guide on what makes a good photo for crystal engraving.
Small adjustments to depth, contrast, brightness, and detail can significantly impact how the engraving appears inside the crystal. Understanding how to balance these settings is key to producing professional results.
In this guide, you will learn the best settings for 3D crystal engraving and how to optimize your workflow for consistent, high-quality output.
Why Settings Matter in 3D Crystal Engraving
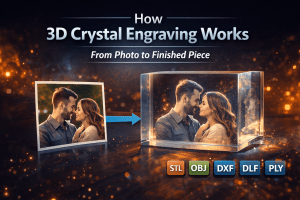
Every engraving is created from a combination of depth data and point distribution. If your settings are not properly adjusted, the final result may appear flat, overly harsh, or lacking detail. If you’re not familiar with the full process, it helps to understand how everything works together. Read our guide on how 3D crystal engraving works.
Using the correct settings ensures:
- Realistic depth and dimension
- Clear and sharp facial features
- Smooth gradients and transitions
- Consistent results across different images
Software like CrystalMe3D Pro provides precise control over these settings, allowing you to fine-tune each engraving for the best outcome.
1. Depth Settings
Depth is the most important factor in creating a realistic 3D engraving. It determines how far different parts of the image appear inside the crystal.
General guidelines:
- Low depth produces a flatter image with minimal dimension
- High depth creates a stronger three-dimensional effect
Best practices for portraits:
- Use moderate depth for natural-looking results
- Avoid extreme depth, which can distort facial features
- Keep transitions smooth between foreground and background
Balanced depth produces a more realistic and visually appealing engraving.
2. Contrast Adjustment
Contrast defines the separation between light and dark areas, which helps highlight important features.
Effects of contrast:
- Low contrast results in a soft or washed-out engraving
- High contrast creates sharper edges but can appear harsh
Recommended approach:
- Slightly increase contrast to enhance facial details
- Avoid excessive contrast, especially for portraits
- Maintain natural transitions between tones
Proper contrast improves clarity without sacrificing realism.
3. Brightness and Detail Balance
Brightness affects how much of the image is translated into engraving points.
Common issues:
- Images that are too dark may lose important details
- Images that are too bright can become overly dense
Best practices:
- Adjust brightness to keep key features visible
- Maintain balance between highlights and shadows
- Avoid extreme adjustments that remove subtle detail
A well-balanced image ensures consistent engraving density and detail.
4. Depth Smoothing
Depth smoothing helps reduce harsh transitions between different depth levels.
Benefits of smoothing:
- Cleaner gradients
- More natural surfaces
- Reduced stepping or banding effects
Recommended settings:
- Use light to moderate smoothing
- Avoid excessive smoothing, which can remove fine detail
Proper smoothing creates a polished and professional appearance.
5. Image Cropping
Cropping is one of the most overlooked yet powerful adjustments.
Why cropping matters:
- Focuses resolution on the subject
- Removes unnecessary background elements
- Improves overall detail density
Best practices:
- Center the subject in the frame
- Remove distractions from the background
- Maximize the subject’s size within the image
Proper cropping can significantly improve engraving quality.
6. Dithering and Detail Processing
Dithering determines how detail and shading are represented through engraved points.
High-quality dithering results in:
- Smoother gradients
- Better tonal transitions
- Improved facial detail
Different algorithms produce different effects, so it is important to test and choose the best option for each image.
CrystalMe3D Pro uses advanced dithering and volumetric tone techniques to create clean, detailed engraving patterns optimized for crystal.
7. Export Settings
Even with perfect processing, incorrect export settings can negatively impact the final engraving.
Key factors to check:
- Correct file format such as OBJ, STL, PLY, or DXF
- Proper scaling for the crystal size
- Consistent point spacing and resolution
Ensuring your export matches your machine settings is essential for accurate results.
Recommended Starting Settings for Beginners
If you are new to 3D crystal engraving, start with balanced settings and adjust gradually.
- Moderate depth for natural appearance
- Slight contrast increase for clarity
- Balanced brightness to preserve detail
- Light smoothing for clean gradients
- Cropped image focused on the subject
These baseline settings provide a strong starting point for most images. If you’re planning to turn this into a business, see our guide on how to start a 3D crystal engraving business.
Common Mistakes to Avoid in 3D Crystal Engraving
- Using excessive depth that distorts the subject
- Applying too much contrast, creating harsh edges
- Over-brightening or darkening the image
- Ignoring cropping and subject placement
- Using incorrect export settings
Avoiding these mistakes will help ensure consistent and professional results. For a deeper breakdown of these issues, see our guide on common 3D crystal engraving mistakes.
Conclusion
High-quality 3D crystal engravings are the result of both a good source image and properly tuned settings. Small adjustments can make a significant difference in depth, clarity, and realism.
By carefully controlling depth, contrast, brightness, and detail, you can consistently produce engravings that look sharp, natural, and visually impressive.
With tools like CrystalMe3D Pro, these adjustments become easier and more precise, allowing you to achieve professional results with greater efficiency.