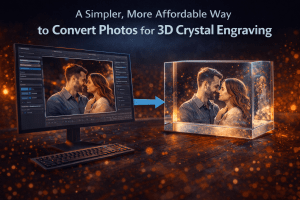
A Simpler, More Affordable Way to Convert Photos for 3D Crystal Engraving
Creating high-quality 3D crystal engravings starts with converting a 2D photo into a depth-based engraving file. While there are several tools available for this process,

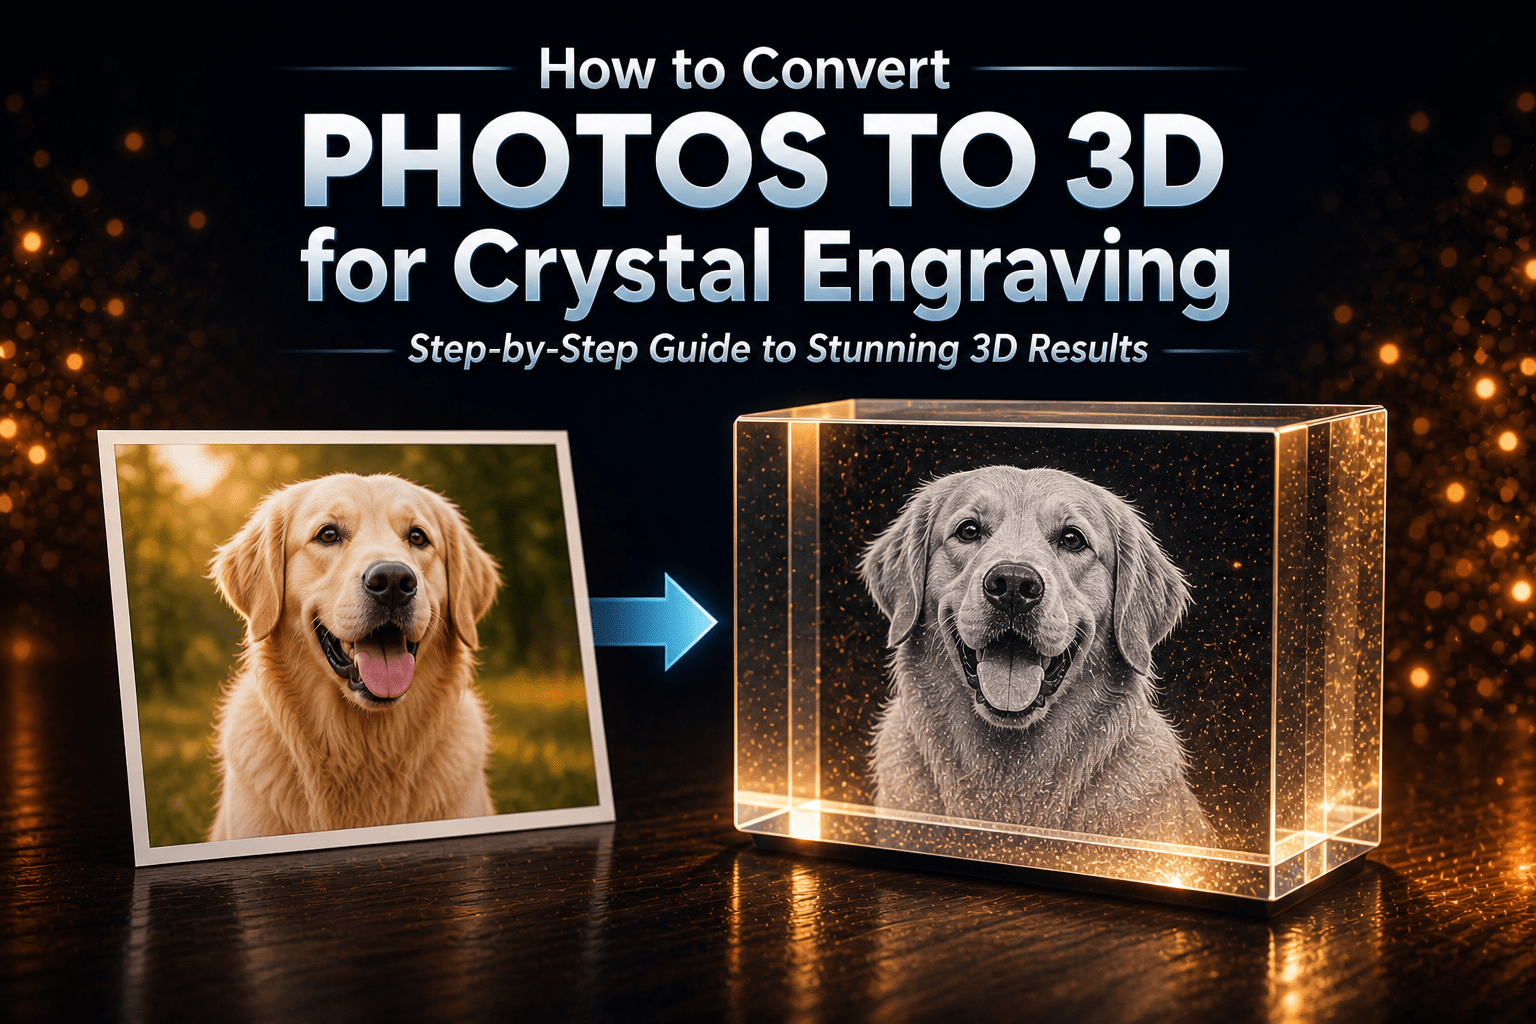
If you’ve ever seen a high-quality 3D crystal engraving, you already know how impressive the results can be. A single photo, transformed into a detailed three-dimensional image suspended inside glass, has a unique visual depth that feels almost lifelike.
But behind that result is a very specific process. Converting a standard image into something a laser can engrave inside a crystal requires more than just a simple filter—it involves depth reconstruction, point distribution, and careful preparation of how light and detail will be perceived inside the material.
If you’re trying to understand how to convert photos to 3D for crystal engraving, this guide walks through the entire process step by step. More importantly, it focuses on modern techniques—especially volumetric tone methods—that produce significantly better results than older workflows.
A photograph is fundamentally flat. It contains width and height, but no actual depth information. For crystal engraving, however, depth is everything. The laser needs to know not just where to place points on the X and Y axes, but also how deep each point should exist inside the crystal.
This is where the concept of a depth map comes into play. A depth map translates the visual information in your photo into a grayscale representation of distance. Brighter areas are interpreted as closer to the viewer, while darker areas recede further back.
Once this depth information is generated, it can be converted into a three-dimensional structure made up of points. These points are what the laser ultimately engraves inside the crystal, forming the final image.
The key distinction—and where modern workflows improve dramatically—is how those points are distributed. Older methods rely heavily on flat surface representations and dithering. Newer approaches use volumetric data to build true depth throughout the entire engraving.
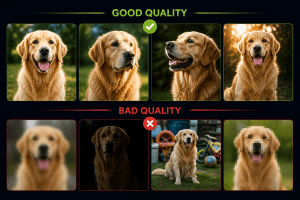
The quality of your final engraving is heavily influenced by the image you begin with. While software can enhance and interpret details, it cannot fully compensate for poor source material.
A strong image typically has a clearly defined subject, good lighting, and enough contrast to separate important features. Portraits tend to work especially well because the human eye is very sensitive to facial depth and structure. When the input image is sharp and well-lit, the depth estimation process becomes much more accurate.
Images that are cluttered, low-resolution, or overly compressed often lead to weak depth maps. This results in engravings that appear flat or noisy, regardless of how advanced the processing pipeline is.
Cropping also plays a larger role than many people expect. By focusing tightly on the subject before processing, you effectively increase the usable resolution, which translates directly into more detail in the final 3D output.
Remember, not all images produce the same quality results. Selecting the right photo is essential for creating a professional engraving. Learn more in our guide on what makes a good photo for crystal engraving.
Before generating depth, it’s important to remove or isolate the background. This step is not just about aesthetics—it directly impacts how the engraving is constructed.
When the background remains in place, the depth model often assigns it unnecessary structure. This leads to unwanted points floating behind or around the subject, which can reduce clarity and introduce visual noise inside the crystal.
Modern workflows typically use AI-based background removal, followed by manual refinement if needed. The goal is to ensure that only the meaningful parts of the image contribute to the final 3D structure. Clean edges and proper masking result in a much more defined and professional engraving.
With the subject isolated, the next step is generating a depth map. This is where the image transitions from a flat picture into something that can be interpreted as three-dimensional.
AI-based depth estimation has significantly improved in recent years. Instead of relying on simple contrast assumptions, modern models analyze facial structure, object boundaries, and contextual cues to infer realistic depth.
However, even with advanced models, the depth map often benefits from refinement. Adjustments such as smoothing, contrast balancing, and depth scaling help ensure that the transitions between foreground and background feel natural rather than abrupt.
The goal here is not exaggerated depth, but believable depth. Over-processing can lead to unnatural results, especially in faces where small distortions are immediately noticeable.
Once the depth map is finalized, it is converted into a three-dimensional structure. Traditionally, this takes the form of a point cloud, where each pixel in the image becomes a point in 3D space.
At this stage, the engraving begins to take shape, but how those points are used next is what determines the overall quality of the final result.
Older workflows treat this geometry as a surface, applying effects on top of it. Modern approaches, however, build upon this geometry to create a full volumetric representation, which allows for far more realistic shading and depth.
This is one of the most important steps in the entire process, and it’s also where the biggest difference in quality can be achieved.
Traditional crystal engraving workflows rely on dithering. Dithering works by converting tonal information into patterns of dots. These dots simulate shading by varying their density across the surface of the image. While effective to a degree, dithering is fundamentally a two-dimensional solution applied to a three-dimensional problem.
The result often looks detailed at first glance, but closer inspection reveals a grainy texture. Smooth gradients, especially in faces, can break down into visible patterns rather than continuous depth.
Volumetric tone mode takes a completely different approach.
Instead of simulating shading with dot patterns, it uses the actual three-dimensional space inside the crystal to represent tone. Points are distributed throughout the volume, not just along a surface. Brighter areas contain a higher density of points, while darker areas are more sparse. This creates natural transitions that mimic how light interacts with real objects.
The difference is immediately noticeable. Where dithering produces an image that looks like a collection of dots, volumetric engraving produces something that feels like a true 3D form suspended inside the crystal.
This approach is especially effective for portraits. Subtle variations in facial structure—such as the curvature of cheeks or the depth around the eyes—are preserved much more accurately. Instead of appearing flat or noisy, the engraving has a smooth, sculpted quality.
Dithering still has its place, particularly in workflows that require smaller file sizes or faster processing. However, for high-end results, volumetric tone mode has become the preferred method.
After the tonal method is chosen, the next step is aligning your data with the capabilities of your laser engraving system.
Resolution, typically measured in DPI, determines how densely points are placed across the X and Y axes. Higher resolutions allow for finer detail, but they also increase file size and processing time.
Depth scaling is equally important. This controls how far the engraving extends into the crystal. Too little depth results in a flat appearance, while too much can distort proportions.
The key is balance. A well-calibrated setup ensures that the density of points, the depth range, and the physical dimensions of the crystal all work together to produce a clear and visually appealing result.
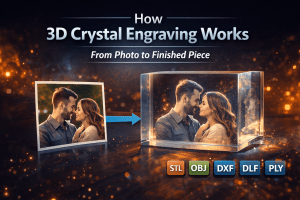
Once everything is finalized, the 3D data is exported into a format compatible with your engraving machine. Common formats include point clouds and structured geometry files, depending on the workflow.
Common File Types:
At this stage, it’s important to verify that the point count and density are appropriate for your system. Extremely high-detail volumetric engravings can contain millions of points, which may require more processing time but often result in superior visual quality.
When the file is sent to the laser, the machine engraves the design by creating tiny internal fractures within the crystal. Each point corresponds to a precise location in 3D space.
As layers of points are added, the image begins to emerge. In volumetric engravings, this process builds a full three-dimensional structure rather than a single surface, which is why the final result appears so much more lifelike.
The shift toward volumetric tone techniques is driven by one simple factor: quality.
As customer expectations increase, especially for personalized products like crystal engravings, the limitations of older dithering methods become more noticeable. People are no longer satisfied with images that look flat or overly processed.
Volumetric approaches solve this by using the full depth of the crystal as part of the image itself. Instead of faking depth, they create it.
This not only improves realism but also enhances how the engraving interacts with light, which is ultimately what makes these pieces visually striking. This is also how you end up with the HD-Quality or Super High-Def engravings.
While it’s possible to perform each of these steps using multiple tools, doing so can quickly become time-consuming and inconsistent.
This is where dedicated software like CrystalMe3D Pro becomes valuable.
Instead of managing separate workflows for background removal, depth generation, and point processing, everything is handled in one place. More importantly, it allows you to switch between traditional dithering and advanced volumetric tone mode depending on your needs, while providing real-time previews of the final result.
This kind of control is essential when aiming for professional-quality engravings, especially when working with high-detail images or customer photos.
Learning how to convert photos to 3D for crystal engraving involves more than just running an image through software. It requires an understanding of how depth, tone, and point distribution work together to create a convincing three-dimensional result.
While traditional methods like dithering still exist, modern volumetric techniques offer a clear advantage in realism and quality. By using the full depth of the crystal rather than relying on surface patterns, they produce engravings that look more natural, more detailed, and more visually impressive.
As the technology continues to evolve, volumetric workflows are quickly becoming the standard for anyone serious about producing high-end crystal engravings.
If you want a faster, more reliable way to convert photos into high-quality 3D engravings, CrystalMe3D Pro provides a complete solution designed specifically for this process.
With support for both traditional and volumetric workflows, it gives you the flexibility to achieve the exact look you’re aiming for—while maintaining the level of quality expected in professional engraving.
Creating high-quality 3D crystal engravings starts with converting a 2D photo into a depth-based engraving file. While there are several tools available for this process,
3D crystal engraving is one of the most visually striking and meaningful ways to preserve…
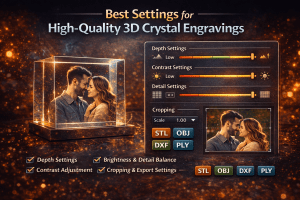
Creating a high-quality 3D crystal engraving is not just about using a good photo…

The quality of a 3D crystal engraving depends heavily on the photo you start with…

Starting a 3D crystal engraving business is one of the most accessible and profitable ways…
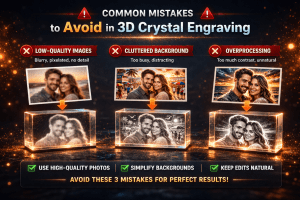
3D crystal engraving is a precise process that combines image quality, depth processing…
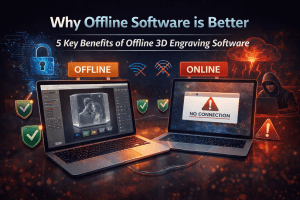
As more creative tools move to the cloud, many users assume online processing is the…