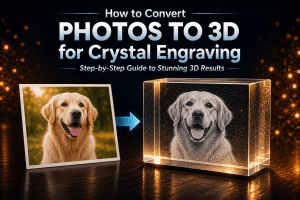
3D crystal engraving is one of the most visually striking and meaningful ways to preserve memories. Whether it is a portrait, a pet, or a special moment, this technology transforms a simple photograph into a three-dimensional image inside crystal glass.
In this guide, you will learn exactly how 3D crystal engraving works, from the original photo to the finished engraved crystal, and how software like CrystalMe3D Pro plays a key role in achieving professional results.
What Is 3D Crystal Engraving?
3D crystal engraving, also known as subsurface laser engraving, is a process where a laser creates thousands of tiny points inside a crystal block. These points form a detailed image that appears suspended within the glass.
Unlike surface engraving, nothing is etched on the outside. The entire design exists inside the crystal, creating a unique floating effect.
Step 1: Starting with a Photo
The process begins with a standard 2D image. This can include:
- Portraits
- Wedding photos
- Pet images
- Memorial photos
- Family pictures
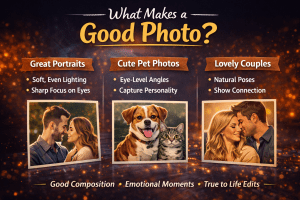
The quality of the original image is important. Clear subjects, good lighting, and strong contrast will produce the best results. However, modern software like CrystalMe3D Pro can improve and adapt many images for engraving. To learn more, see our guide on what makes a good photo for crystal engraving.
Step 2: Converting the Image to 3D Depth
The next step is generating depth from the image. This is where the flat photo is transformed into a three-dimensional structure.
Software analyzes the image and creates a depth map, which determines how far each part of the image appears inside the crystal.
For example:
- Facial features are brought forward
- Background elements are pushed back
- Edges are smoothed for a natural look
CrystalMe3D Pro uses advanced depth processing to create realistic and smooth depth transitions, helping avoid flat or distorted results.
Step 3: Applying Dithering for Detail
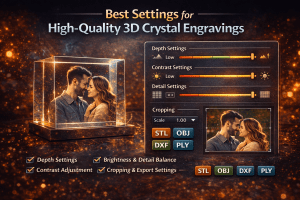
Once depth is created, the image is converted into a pattern of points that the laser can engrave. This process uses dithering techniques to translate light and dark areas into dots.
Dithering is essential because it:
- Controls brightness and contrast
- Creates smooth gradients
- Preserves fine details such as eyes and textures
Common dithering methods include Floyd-Steinberg, Jarvis, Stucki, and Atkinson. Each method produces slightly different results depending on the image.
CrystalMe3D Pro combines depth processing with advanced dithering to produce clean, detailed, and realistic engravings.
Getting these settings right is critical for quality. Learn more in our guide on the best crystal engraving settings.
Step 4: Generating the 3D Point Cloud
After depth and dithering are applied, the image becomes a 3D point cloud. This is a collection of coordinates that define where each laser point will be placed inside the crystal.
Each point includes:
- X and Y position for placement
- Z depth for distance inside the crystal
- Density for detail level
The accuracy of this data directly affects the quality of the final engraving.
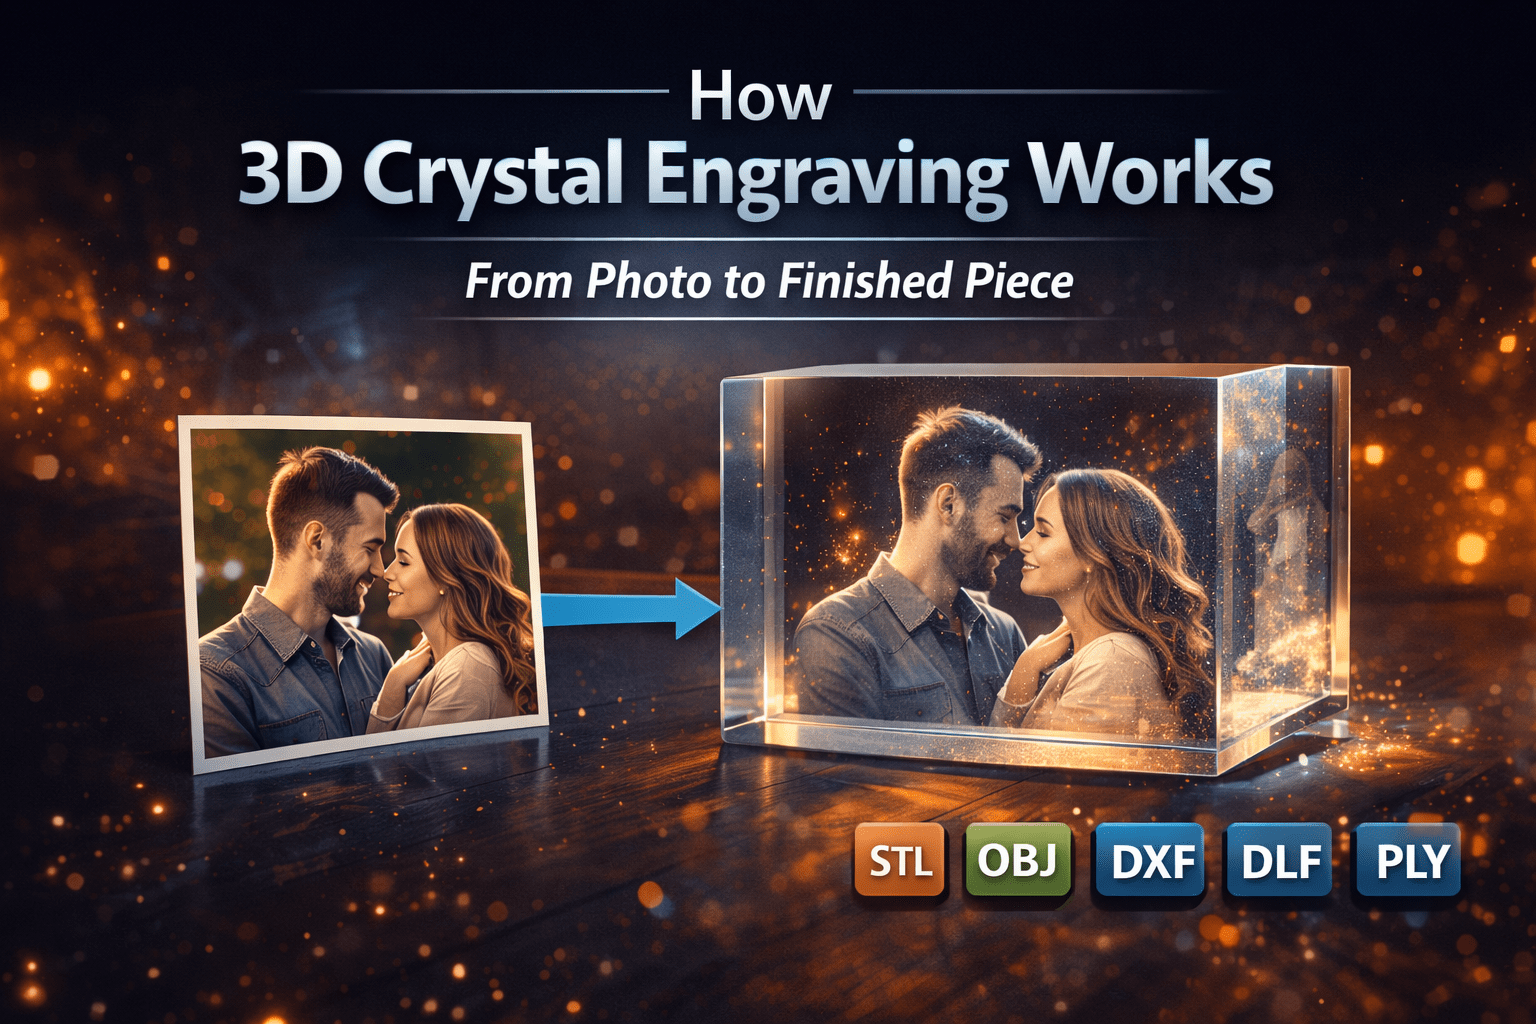
Step 5: Exporting the File
Once the design is complete, it is exported into formats that are compatible with engraving machines. Common formats include:
These formats allow the design to be used with most subsurface laser engraving systems.
Step 6: Laser Engraving Inside the Crystal
The final file is sent to a subsurface laser engraving machine. The laser focuses energy at precise points inside the crystal to create the image.
The process involves:
- Firing laser pulses inside the glass
- Creating microscopic fractures
- Building the image layer by layer
The result is a detailed three-dimensional image that appears to float inside the crystal.
Why Software Matters
The quality of a 3D crystal engraving depends heavily on the software used to prepare the image.
Without proper software, results can appear flat, inconsistent, or lacking detail.
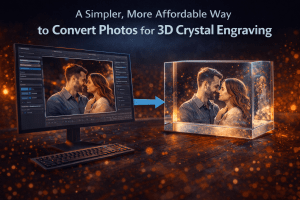
CrystalMe3D Pro simplifies the entire workflow by converting photos into detailed, engraving-ready results by:
- Automating depth generation
- Providing precision controls for adjustments
- Supporting multiple export formats
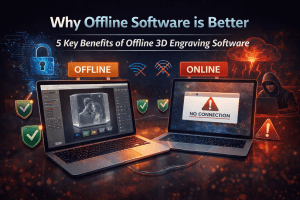
- Allowing offline processing without limitations
This ensures consistent, high-quality results for both beginners and professionals. For a deeper look at why local processing is important, see our guide on why offline 3D image processing software is better.
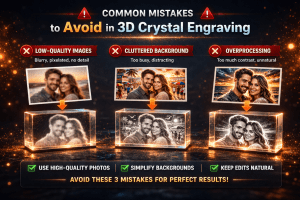
Common Mistakes to Avoid
- Using low-quality or blurry images
- Ignoring depth adjustments
- Using incorrect dithering settings
- Over-processing the image before conversion
- Exporting with incorrect scale or spacing
A proper workflow and the right tools help eliminate these issues.
Conclusion
3D crystal engraving combines advanced technology with artistic precision. What starts as a simple photograph becomes a detailed three-dimensional image through depth mapping, dithering, and laser engraving.
Understanding how 3D crystal engraving works helps improve your final results. With tools like CrystalMe3D Pro, it is now possible to create professional-quality crystal engravings quickly, accurately, and consistently.
Frequently Asked Questions
Can any photo be used for 3D crystal engraving?
Most photos can be used, but images with clear subjects, good lighting, and strong contrast produce the best results.
Is 3D crystal engraving permanent?
Yes, the engraving is inside the crystal and will not fade or wear over time.
What is the difference between 2D and 3D crystal engraving?
2D engraving places all points on a flat plane, while 3D engraving adds depth, creating a more realistic and lifelike result.
What software is best for 3D crystal engraving?
Specialized software like CrystalMe3D Pro is designed to handle depth generation, dithering, and export for high-quality results.